With so many people raving about the benefits of bone broth, now is a great time to learn how to make homemade bone broth for yourself.
Many say that making bone broth is as simple as taking bones and boiling them for 8+ hours, but the honest truth is that many broths taste muddy or gritty and aren’t very appealing.
After a few months of making my own homemade bone broth, I’ve found that there are 4 essential steps that are absolutely necessary in order to make a delicious bone broth, regardless of bone type or seasonings you add.
Here are 4 most important steps to follow to make a good tasting bone broth.
1. Select the right type of bones
A real bone broth is made with bones and cuts of meat high in collagen, like marrow, knuckles, and feet. While beef is the most popular type of bone broth, you can also make it with lamb, pork or chicken.
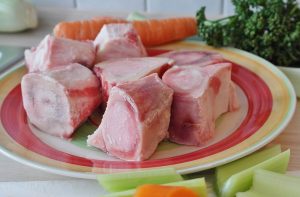
Note that using collagen-heavy bones will make a broth that is gelatinous at room temperature. This Jell-O style texture is ideal and nothing to be alarmed at.
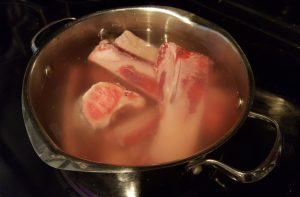
2. Blanching
This step removes any impurities and little bits from the bones, and must be done before roasting and boiling. To blanch, cover the bones with cold water, bring to a boil, and let them cook at an aggressive simmer for 20 minutes then drain. You can add some salt and a tablespoon of apple cider vinegar to the water to aid in removing the impurities.
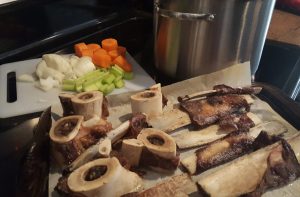
3. Roasting
Roasting the bones will brown and caramelize them, and significantly improves the flavor. Roast the bones really well. Heat the oven to 450˚F and roast for at least 25 minutes until well browned. Make sure to loosen all of the crisped brown bits on the bottom of the pan and add it to your stockpot for additional flavor.
Some recommend roasting garlic, onions and vegetables too before boiling. I find that roasted garlic and onions adds a delicious sweet taste to the final broth, but it’s not a deal breaker if you happen to forget to roast them.
4. Simmer
Add all of your herbs, spices and vegetables to the pot. A simple broth contains garlic, onions, bay leaves, salt and peppercorns. Other flavors to consider adding are ginger, carrots, celery and other herbs. Make sure your stock pot is large enough and add just enough water to cover the bones, bring to a boil, lower the heat to a simmer, and cover. Make sure the bones are not floating.
There is an ever so slight difference between a simmer and a gentle boil, but it makes a significant difference to the overall outcome of your broth. A simmer has pockets of fine but constant bubbling that give off occasional wisps of steam, and is ideal for mingling flavors and tenderizing meat. Boiling the bones for too long will cause the liquid to evaporate too quickly, creating the need to add additional water to your stock and reducing the flavor.
A delicious bone broth must be simmered for 6 or more hours. Some people keep the broth simmering overnight, but I get nervous with fire hazards, so I start my broth in the morning on days that I plan to stay home. Thick and hardy bones have a lot of flavor to offer up, and the only way to extract that flavor is with time.
Once the broth is finished…
Strain out the bones and vegetables and cool the broth before storing in the refrigerator. Scrape off the meat from the bones and use in soups or other recipes.
Bone broth can also be stored in the freezer. Make bone broth ice cubes so that they can easily be used in recipes.
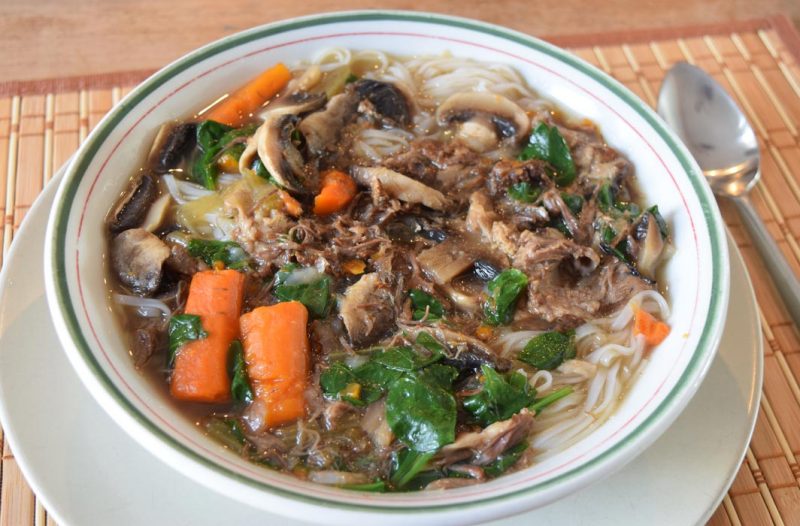
I like to make a Hearty Vegetable and Beef Bone Broth Noodle Soup for the family, very similar to a Vietnamese pho using the meat scraped from the bones.
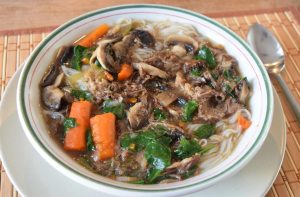
Hearty Vegetable and Beef Bone Broth Noodle Soup