My oldest son’s 4th birthday just passed, and one of the only things he asked for was to have a cake for his birthday. Not just any cake … he had his mind set on a cake that he saw on one of my social media newsfeeds. It was a beautiful 3D Minion cake made of fondant. I did my best to try and steer him back in the direction of cupcakes or a slab cake, but nothing worked.
Where was I going to find a gluten-free, dairy-free, egg-free, peanut-free and tree-nut free Minions cake? I would’ve paid an obscene amount to buy one for him, but I couldn’t find a local bakery that didn’t have cross-contact risks. It felt like an impossible task, but I got a burst of motivation when I realized that he’s never eaten cake his entire life. My 4 year old son had been to so many parties and family events where cake has been brought out for everyone else to eat. For his special day, he wanted a cake … and I was going to get it done, no matter what.
I decided to skip the challenge of fondant entirely. The timelines were too tight and I didn’t have any room to make errors. I decided to use buttercream icing for the cake instead.
Step 1: Make the Gluten-free Vegan cake
My son wanted chocolate cake, so I used the recipe for Gluten-free Vegan Chocolate Cupcakes in an 8″ springform pan. It needed to be baked at 375F for about 40 minutes, or until a toothpick inserted into the centre of the cake came out clean. I made 3 chocolate cakes for this recipe.
Note that this recipe does not rise the way that you’d expect “normal” cakes made with wheat and eggs to rise.
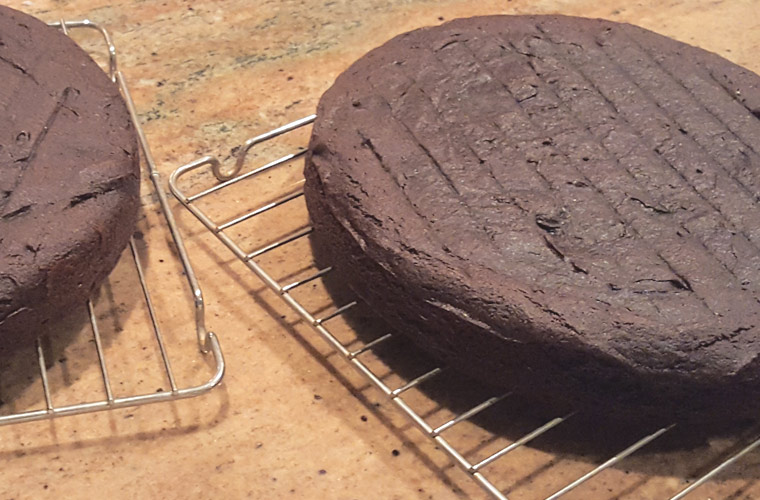
I baked the cakes 2 days before the actual party. I cooled them completely on a cake rack then wrapped each cake in a layer of saran wrap and aluminum foil and put them in the freezer. I put them in the refrigerator to defrost the night before the party so that they would be ready to work with the morning of the party.
Step 2: Make the icing
This cake required a LOT of buttercream icing.
I made 2 ½ recipes of Dairy-free vanilla “buttercream” frosting:
- 1 recipe of vanilla icing was kept white
- 1 recipe of vanilla icing was dyed yellow with food coloring
- ½ recipe of vanilla icing was dyed blue with food coloring
I made a ½ recipe of Dairy-free Chocolate “Buttercream” Icing for the glasses, eyes, hair and other trimmings.
Step 3: Shape your Minion
I had initially hoped for the gluten-free cakes to rise so that when stacked the 3 layers would be the appropriate Minion height. I panicked a little when I saw the cakes, as I thought I was going to have to bake another 3 cakes to make the Minion. Luckily my husband came up with the ingenious idea of cutting the cakes in half and making a semi-circle Minion.
Cut the 3 cakes in half to make 6 equal half-moon cakes. Don’t worry if they are not identically sized, as you can shape your Minion cake after they are stacked.
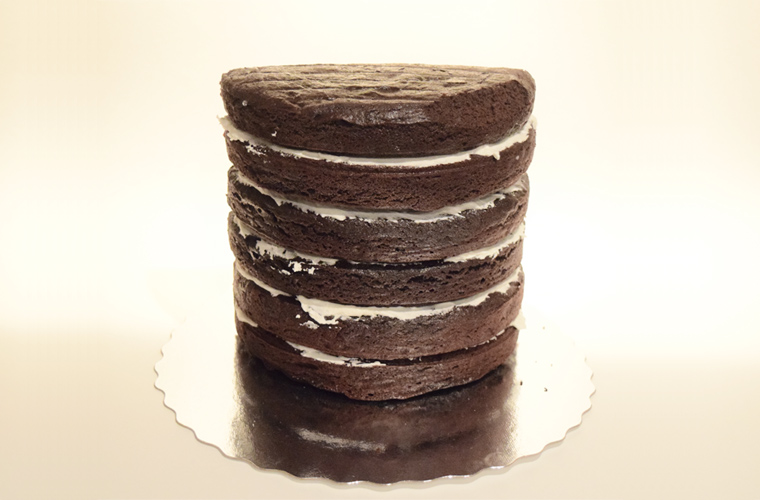
Stack the 6 half-moon cakes with a thin layer of white buttercream frosting between each cake. The frosting will help keep the cakes in place and also helps to moisten and flavor the cake.
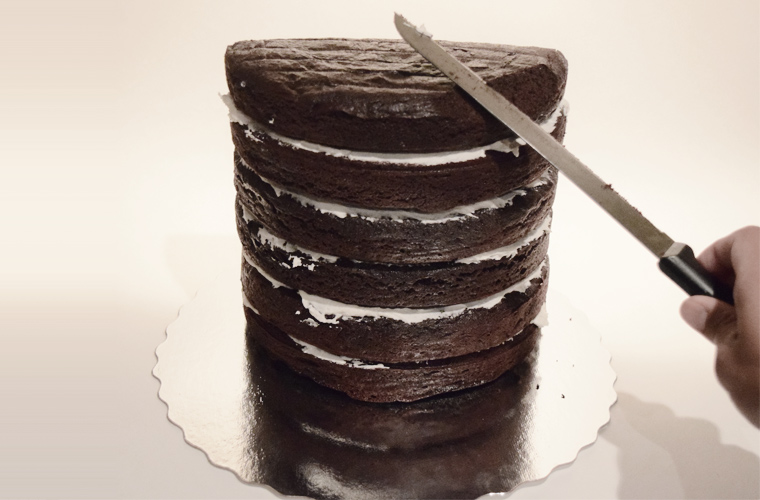
Use a good knife (I used a bread knife) to round out the top of the cake and shape it like the top of a Minion’s head. If the cake layers are not identically sized, use your knife to clean up and straighten out the back of the cake.
When you are happy with the shape of the cake, cover the entire cake with a thin layer of white buttercream frosting.
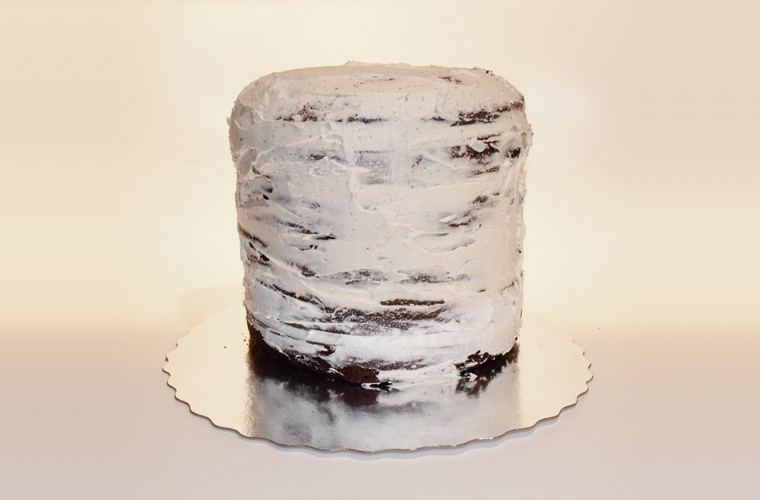
Covering the cake in this first layer of icing holds any cake crumbs floating around and helps to keep your final layer of icing clean.
Step 4: Decorate the cake
There are many ways to ice the body of the cake, and all methods are correct as long as the end result is a neat and smooth layer. One option is to put scoops of icing on the cake and use a spatula to smooth out the icing.
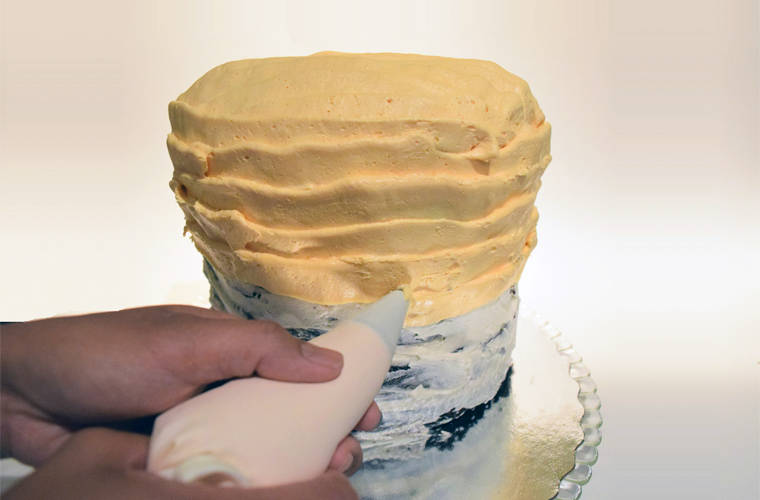
I like to use a piping bag with a large flat tip to make sure the entire cake is covered with a relatively even layer of icing.
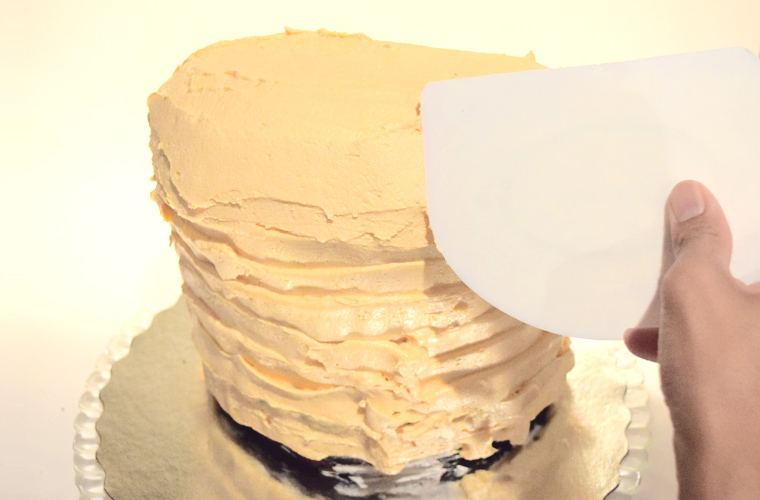
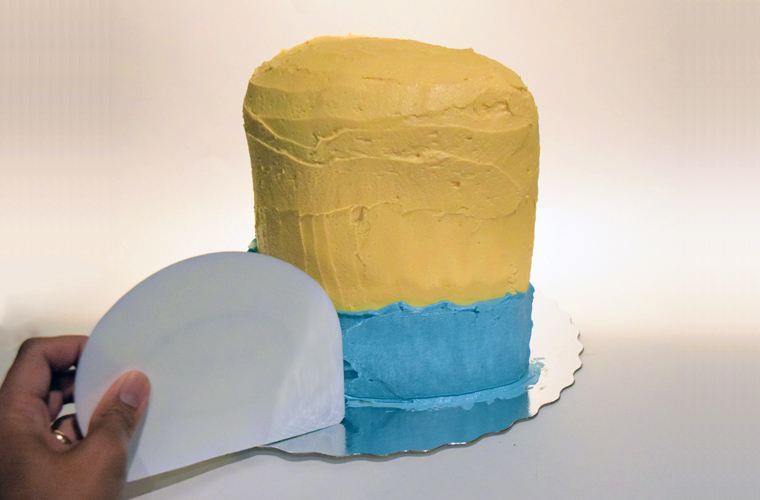
I used a half round plastic spatula to even out the icing, but you could also use a regular spatula, the smooth edge of a butter knife or the stiff edge of a ziploc bag.
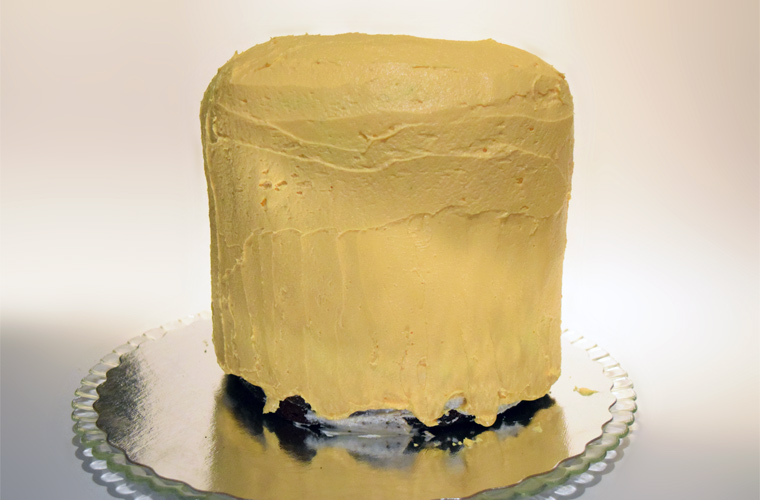
The end result should be a relatively smooth yellow body. Don’t try to be a perfectionist. Buttercream will never look as smooth as fondant, and the more you play with the icing, the more chances you’ll have to mess it up. At some point you just have to tell yourself “It’s good enough!”
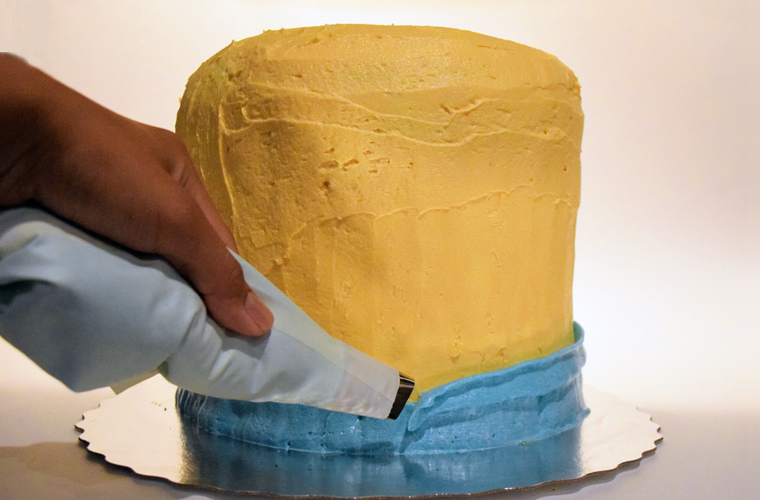
Make the Minion overalls with the blue buttercream. Create a band of blue icing at the base of the cake that ends about a quarter way up.
Use a spatula to smooth out the blue icing.
Create the eye (or eyes) of the Minion at the centre of the cake using white buttercream icing in a piping bag.
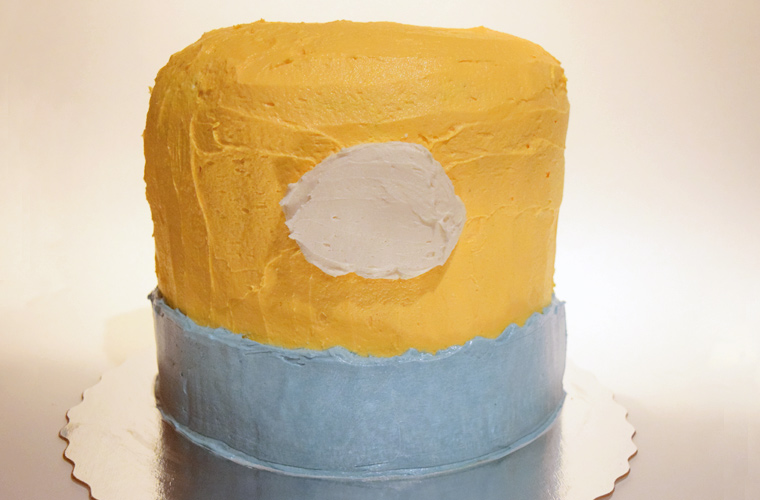
Smooth out the eye with a spatula.
The final touches use a fine to medium sized round piping tip with the chocolate buttercream. Draw the Minion glasses, eyeball, smile and hair. You can decorate the blue space with a pocket, or use the space to write out a name or greeting.
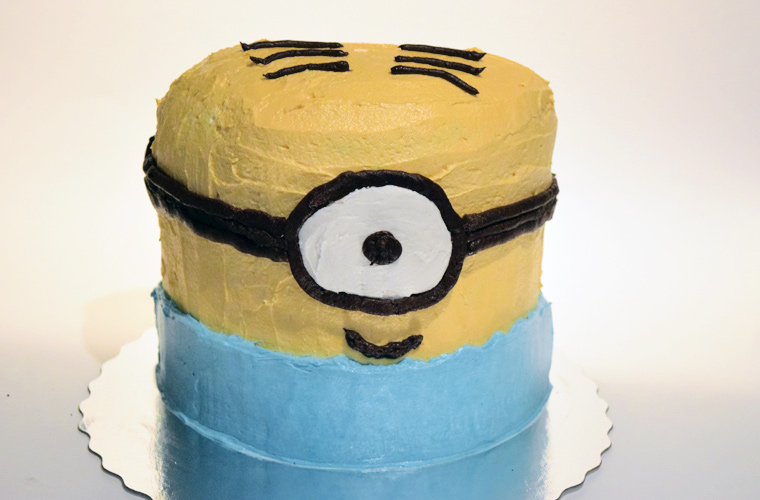
This project was fun to make and easier than I expected it to be. It was all worth it to see the big smile on my son’s face.